Many people who work with stained
glass use only the copper foil method of holding the pieces of glass
together. But when you know how to use lead came as well as copper
foil, the
choice becomes which is better for any given artwork. For me, the
decision to use lead came is the correct decision about 95% of the time. That is
why I am about to show you how a leaded artwork in stained glass is made.
After discussing the clients' setting, desires, privacy issues, budget,
and possible constraints, I draw one or
more initial
designs on my computer. These are then presented to the clients on
a private web page with the intention of getting their feedback. Once I
know their
likes and dislikes, I produce further versions of the design, if
necessary. This continues until the clients are happy with the design.
Once the final version
of the design is set, I print it out (small) on paper to aid me in
creating a
very precise full size drawing of the artwork. While many stained glass
artisans think it's ok to enlarge a design at their local
copy-shop, the precision I strive for in my own work requires that I
blow up the design to full size with mechanical drawing skills. If
you're thinking of commissioning stained glass, be sure to ask each
potential artisan about
how they do this... it's an easily obtained insight into the
attitude and the skill level of an artisan you're considering using.
While the full
size design is being constructed, the choice of which glasses to use is
discussed. While I used to submit photos (such as the ones shown below)
to facilitate this discussion, I now use Zoom meetings for looking at
glasses. I also encourage clients to trust me to select at least
some of the glasses myself. While
this is not a requirement of commissioning me, it does help me to
select glasses that match the final design and go together well,
something I do during the glass-cutting phase. In all of the
times I have done a project this way, not one client has been
unsatisfied with the results. |
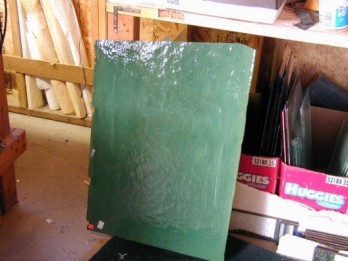 |
The green glass for the border is
chosen. |
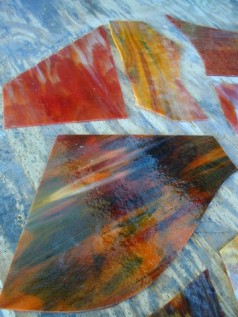
| Glasses for the sun and moon are
considered. |
 |
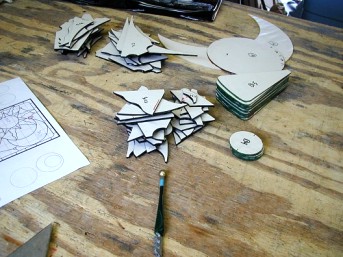 |
1] The full size drawing is cut
into
separate pieces of paper.
2] The paper is glued to the glass.
3] The
glass is cut to size. |
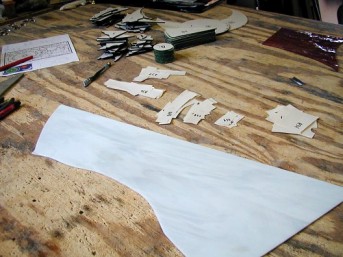 |
After these
paper patterns are used to cut shapes from this large piece of white
glass, all of the glass pieces will be ground smooth along their edges
with a diamond-bitted grinder. |
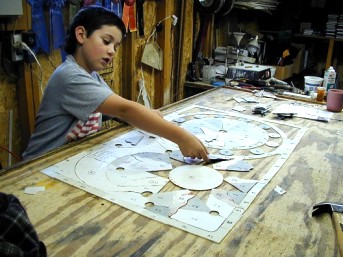 |
Once all
of the glass pieces have been cut and their edges have been ground smooth, putting it together is like
assembling a jugsaw puzzle. Here, my son is helping his dad by figuring
out where each piece goes. |
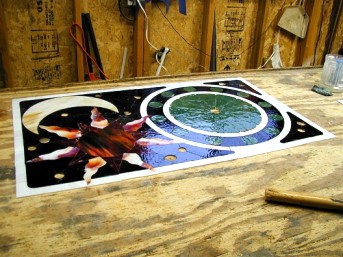 |
Once the
glass jigsaw puzzle is completely laid out, the paper patterns are
removed and the first true glimpse of the artwork is seen. In this particular artwork, you can see
small
circles that have been left out. These holes are where faceted glass
jewels will be added
later on. |
 |
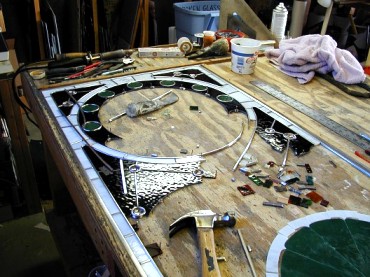
With zinc
along the outside edges for strength, the interior of the artwork is
constructed one leadline and one piece of glass at a time. Pieces are
held tightly in place with nails and scrap bits of lead. The hammer and
the needle-nose
pliers
are the most commonly used tools. |
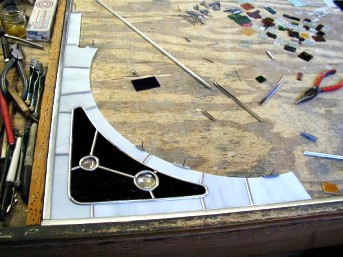 |
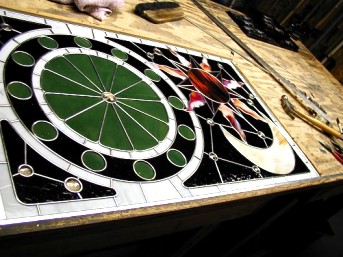
The border design begins to take
shape.
You can see the glass jewels that were added. These ones are clear glass with facets to make them look like giant gemstones. |
 |
Although
most artisans build a stained glass panel on top of a full size paper
pattern, my method for shaping the glass pieces is so precise that no
full size template is necessary. |
|
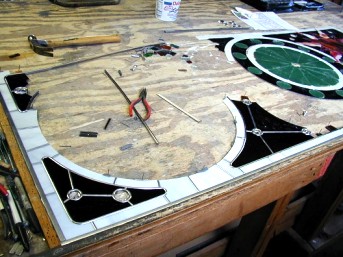
Figuring
out the proper order for which glass piece should be leaded
into place next is crucial to avoiding leading oneself into the proverbial
corner. |
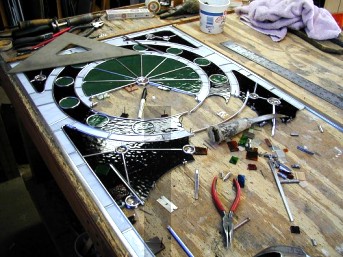 |
Sometimes it can be tricky fitting the last
pieces of glass and lead into one section of the design before moving on to the next
section. |
 |
Finally, the construction is
complete and the panel is ready to be soldered where one leadline meets
or touches another. |
| Once
the artwork is soldered on both sides, it is washed. Then, the zinc,
lead, and solder are darkened with a chemical patina that
turns
all of these metallic parts to a charcoal gray. |
The final artwork can be seen here.
|